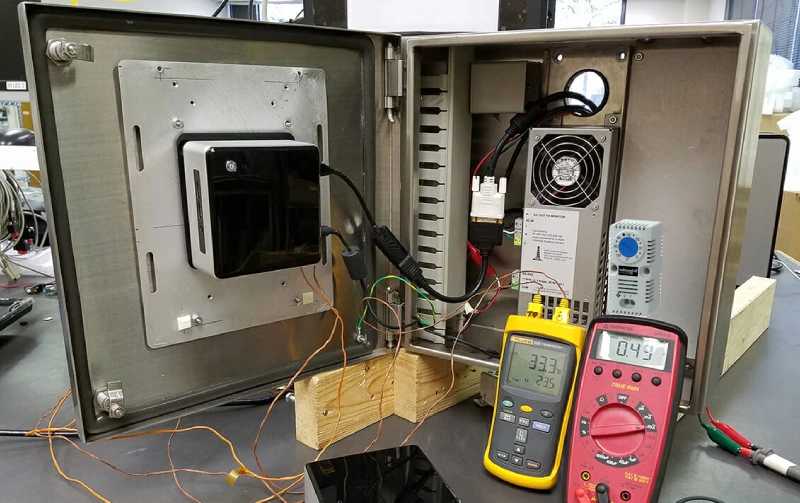
Ready to get started? You only need a few tools to test an enclosure thermostat: a multimeter, a screwdriver, a thermometer, and safety gloves. With these in hand, you can quickly check Linkwell thermostats and digital thermostats inside control cabinets. Each tool helps you get fast, accurate results. If you want to know how to test a thermostat without any confusion, just follow these simple steps.
Key Takeaways
- Gather essential tools like a multimeter, screwdriver, thermometer, and safety gloves before testing your thermostat. This preparation ensures a smooth and efficient process.
- Use a multimeter to check electrical continuity and voltage. This tool provides instant feedback on whether your thermostat is functioning correctly.
- Test the thermostat’s temperature response by comparing the actual temperature to the set point. This step confirms if the thermostat reacts properly to temperature changes.
- Regularly inspect and maintain your thermostat to catch issues early. Cleaning and checking connections can extend the life of your device.
- Consider replacing your thermostat if it shows significant temperature swings or is older than 5-10 years. Regular checks help keep your system running efficiently.
Tools to Test a Thermostat
Before you jump into how to test a thermostat, let’s talk about the tools you need. Each one plays a key role in helping you test your thermostat quickly and safely. Here’s what you’ll want to have on hand:
Multimeter
A multimeter is your go-to device for checking electrical continuity and voltage. When you test a thermostat, you use the multimeter to see if the contacts open and close as they should. Just set it to the right mode, touch the probes to the terminals, and watch the readings. If you get the expected results, your Linkwell thermostat is working. If not, you know there’s a problem. This tool gives you instant feedback, so you don’t waste time guessing.
Screwdriver
You’ll need a screwdriver to open the control cabinet and access the thermostat. Most enclosures use standard screws, so a basic flathead or Phillips screwdriver will do the trick. Use it to remove covers or panels, and to loosen or tighten terminal screws. This step is simple, but it’s essential for reaching the thermostat without damaging anything.
Thermometer or Heat Source
A thermometer helps you check the actual temperature inside the enclosure. You can compare this reading to the thermostat’s set point to see if it’s responding correctly. Sometimes, you might use a heat source, like a hair dryer, to gently raise the temperature and trigger the thermostat. These methods for testing make sure you see how the device reacts in real time.
Safety Gloves
Don’t forget your safety gloves. They protect your hands from sharp edges, electrical contacts, and hot surfaces. Always put them on before you start to test a thermostat. Safety comes first, and gloves help you avoid accidents.
Tip: Gather all your tools before you start. This way, you can move through each step without stopping, and you’ll get results faster.
With these tools, you’re ready to test your thermostat with confidence. You’ll save time, avoid mistakes, and get accurate answers every time.
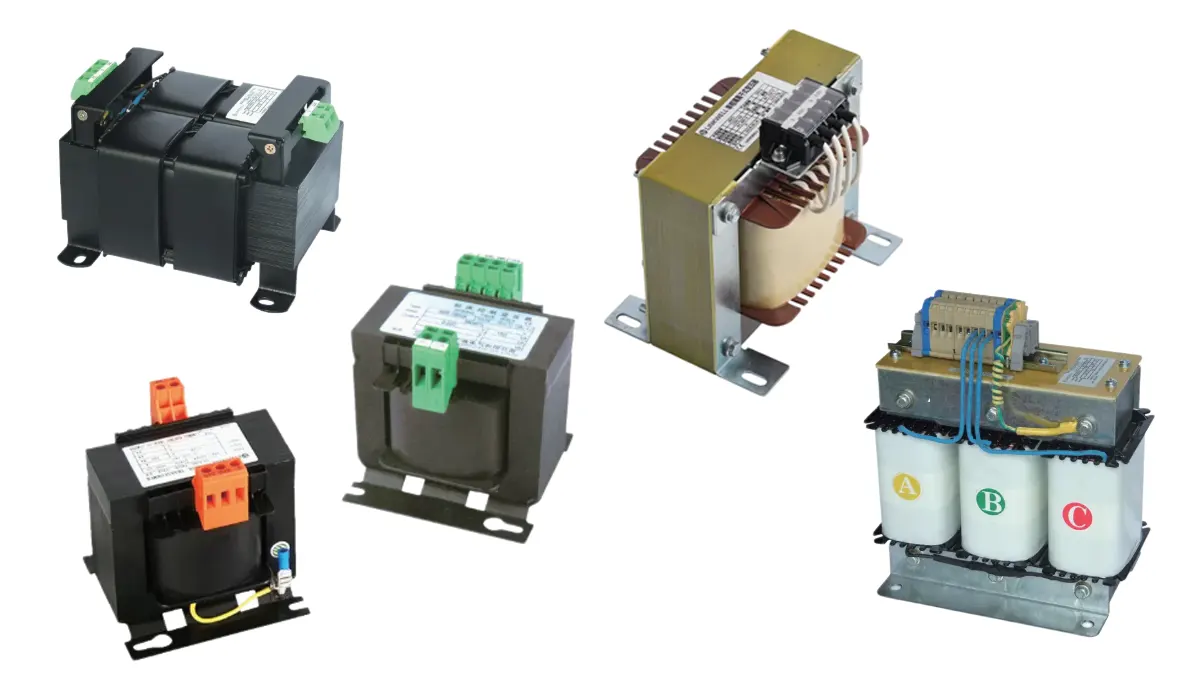
Linkwell Thermostats: Key Features
Heating and Cooling Thermostats
When you look for a reliable thermostat for your control cabinet, you want something that works every time. Linkwell heating and cooling thermostats stand out because they use advanced technology and high-quality materials. You get peace of mind knowing these thermostats are built to last and keep your equipment safe.
Here’s a quick look at what makes Linkwell thermostats special:
| Feature | Description |
|---|---|
| Advanced Technology | Uses the latest temperature control panels for accuracy. |
| Safety Certifications | Meets IEC 61439, UL 508A, CE, RoHS, and ATEX standards. |
| Energy Efficiency | Only runs when needed, saving you money on energy bills. |
| Modular Designs | Easy to install and upgrade in standard enclosures. |
| Grounding Design | Keeps your system safe and reliable. |
| Explosion-Proof Options | Safe for hazardous environments. |
| High-Quality Materials | Made with stainless steel and polycarbonate for durability. |
| Nearly 100% Uptime | Operators report almost no downtime, even in winter. |
You can install these thermostats in most standard cabinets without any hassle. The modular design means you can upgrade or replace them quickly. Many users see their Linkwell thermostats last 10 to 15 years with regular care. That’s a long time for such a small device!
Note: Linkwell thermostats help lower repair costs by keeping temperatures stable and reducing wear on your equipment.
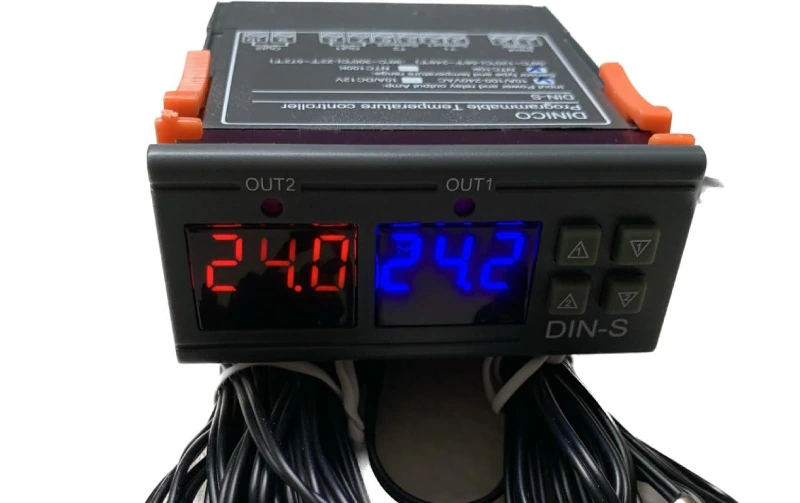
Digital Thermostat
If you want even more control, Linkwell’s digital thermostats give you precise temperature management. These devices react fast and let you set exact temperatures, which is great when you need to know how to test a thermostat for accuracy.
Check out these key features:
| Feature | Benefit |
|---|---|
| Precise temperature control | Keeps your system running smoothly and prevents overheating. |
| Rapid response time | Adjusts quickly to temperature changes, perfect for testing. |
| Customizable features | Lets you set your own ranges and outputs for different needs. |
| Strict calibration | Accurate within ±1 °C, so you can trust your readings. |
You can fit these digital thermostats into almost any enclosure. The user-friendly display and simple controls make setup easy. You also get energy savings because the thermostat only turns on when needed. This smart control helps your equipment last longer and cuts down on maintenance.
Tip: Digital thermostats from Linkwell are tested for quality and come with waterproof options for tough environments.
How to Test a Thermostat: Step-by-Step
Testing your enclosure thermostat doesn’t have to be complicated. If you want to know how to test a thermostat and get fast results, just follow these steps. You’ll see how easy it is to check if a thermostat is working, spot any issues, and keep your Linkwell system running smoothly.
Safety and Preparation
Before you start, make safety your top priority. Always protect yourself and your equipment. Here’s what you should do:
- Disconnect and lock out the main power supply to the control cabinet.
- Use a reliable voltage tester to double-check that no power is present at the connection points.
- Wear safety gloves to avoid cuts or shocks.
- Follow local electrical codes and standards at all times.
- Make sure all wiring is the right size and properly insulated.
- Use ferrules or crimp connectors for secure terminal connections.
Tip: Never skip the power check. Even if you think the power is off, test it again. This step keeps you safe every time you test a thermostat.
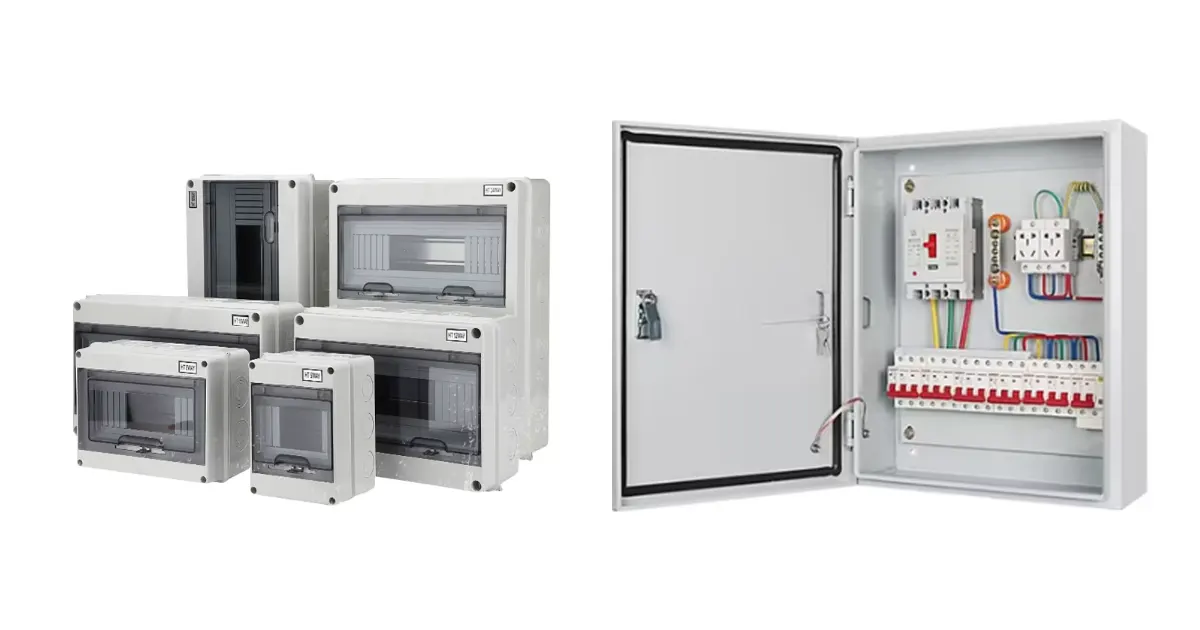
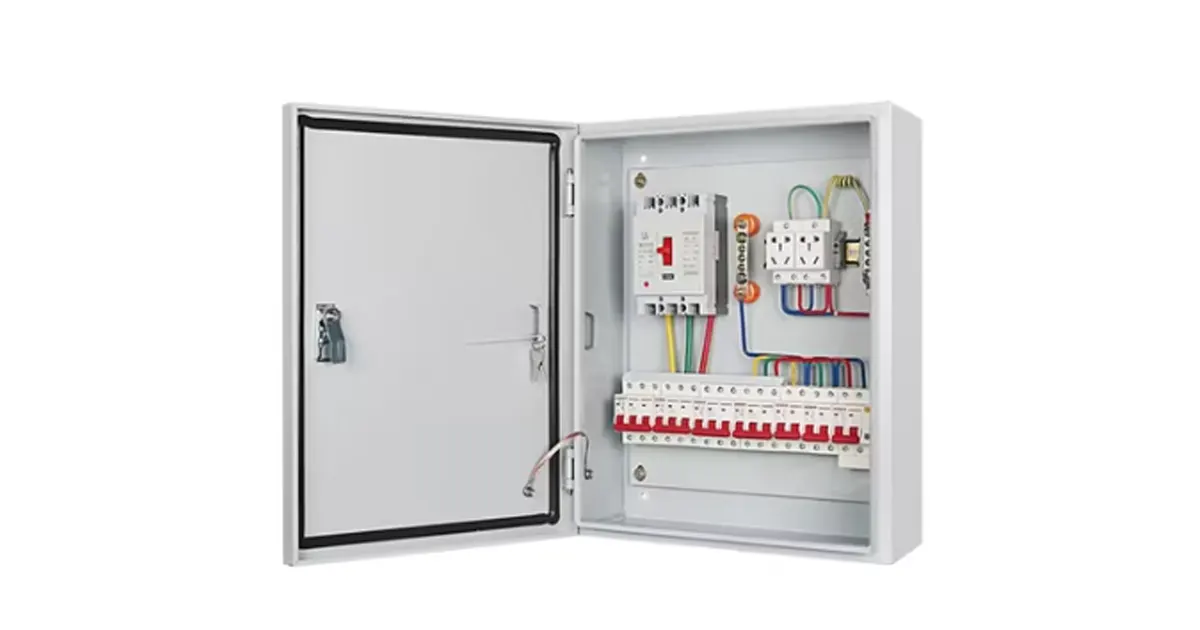
Accessing the Thermostat
Now you’re ready to reach the thermostat inside your enclosure. Here’s a simple way to do it:
- Gather your tools and turn off the power.
- Open the control cabinet using your screwdriver.
- Locate the thermostat. For Linkwell thermostats, you’ll usually find them mounted at least 5 feet above the cabinet floor.
- Avoid placing the thermostat behind shelves or near wires that could block the sensor.
- Stay away from heaters or devices that give off extra heat.
- If you’re replacing a thermostat, label each wire as you disconnect it.
- Check the voltage and current requirements for your Linkwell thermostat before connecting anything new.
- Connect the wires to the correct terminals and secure them tightly.
Note: A secure mount and proper wire labeling make it much easier to test your thermostat and troubleshoot later.
Using a Multimeter
A multimeter is your best friend when you want to test a thermostat with a multimeter. Here’s how to use it for Linkwell thermostats:
- Select the Continuity Test mode on your multimeter.
- Press the continuity button if your model requires it.
- Insert the black lead into the COM jack and the red lead into the VΩ jack.
- With the power off, connect the test leads across the thermostat terminals.
- Listen for a beep or check the display for continuity. A beep means the circuit is closed and the thermostat is working at that temperature.
- If you don’t hear a beep, the circuit is open. This could help you identify a faulty thermostat.
- Turn off the multimeter after testing.
Tip: If you want to know how to test a thermostat quickly, always use the continuity setting. It gives you instant feedback.
Checking Temperature Response
You also need to see how your thermostat reacts to temperature changes. This step helps you confirm if the device responds within the right range. Here’s one of the best methods for testing:
- Place a thermometer near the thermostat to measure the actual temperature inside the enclosure.
- Use a gentle heat source, like a hair dryer, to slowly raise the temperature.
- Watch the thermostat and listen for a click or check your multimeter for a change in continuity.
- Compare the temperature reading to the set point on your Linkwell thermostat.
Here’s the recommended temperature range for Linkwell enclosure thermostats:
| Temperature Range |
|---|
| 0 ~ 60 ºC |
If your thermostat switches on or off within this range, you know it’s working as it should. If it doesn’t respond, you may need to replace it.
Callout: Testing both the electrical continuity and the temperature response is the best way to test your thermostat and catch any problems early.
By following these steps, you’ll know exactly how to test a thermostat, check if a thermostat is working, and identify a faulty thermostat before it causes bigger issues. These steps work for both Linkwell heating and cooling thermostats and digital thermostats. You’ll get reliable results every time.
Troubleshooting
Interpreting Multimeter Results
When you test your thermostat, the multimeter gives you quick answers. You want to see the right voltage at each terminal. Here’s what you should look for:
- R to C should read 24V. This means the power supply is good.
- R to W should read 24V when you call for heat. If you don’t see this, the heating circuit may have a problem.
- R to Y should read 24V when you call for cooling. No reading here means the cooling side isn’t working.
If you get different readings, double-check your connections. Sometimes, a loose wire or a tripped breaker causes issues. If the readings still look wrong, your Linkwell thermostat may need service or replacement.
Tip: Always compare your multimeter results to the expected values for your system.
When to Replace a Thermostat
You might wonder when it’s time to swap out your thermostat. Here are some signs:
- Check your thermostat every year.
- Notice temperature swings or if your system runs all the time.
- If your thermostat is older than 5–10 years, consider a new one.
Routine calibration helps too. Check it once a year, usually in the fall. If you see a difference of more than three degrees between your thermostat and a reliable thermometer, it’s time for servicing.
| Condition | Inspection Interval |
|---|---|
| Normal conditions | Every 2 to 3 years |
| Tough environment | Every 6 to 12 months |
Common Issues with Enclosure Thermostats
Sometimes, even the best thermostats need a little care. Here are some practical tips for keeping your Linkwell thermostat in top shape:
- Inspect coils every season, especially in spring and fall.
- Power off the unit before cleaning.
- Remove dust and debris from around the thermostat.
- Use a soft paintbrush to clean the coil and contact points.
- Slide a dollar bill between contacts to clear buildup.
- Use a Q-tip with rubbing alcohol for stubborn spots.
- Make sure the thermostat sits level after cleaning.
If you follow these methods for testing and maintenance, you’ll keep your system running smoothly. When you test a thermostat regularly, you catch small problems before they turn into big ones.
Note: Clean filters and regular checks help your Linkwell thermostat last longer and work better.
You now know how to test an enclosure thermostat quickly and accurately. Using quality tools like a multimeter, thermometer, and safety gloves saves time and helps you avoid mistakes. Linkwell thermostats come with clear instructions and strong support, so you can install and maintain them with confidence. If you ever need help, check out the support options below:
| Support Option | Details |
|---|---|
| Telephone | 0086-400-671-6715 |
| info@linkwell.org | |
| After-sales service | Whole process tracking, 1-hour response, and 24-hour solution for customer demands. |
Choose Linkwell for reliable products and friendly support every step of the way.
FAQ
How often should you test your enclosure thermostat?
You should test your thermostat at least once a year. If your cabinet sits in a harsh environment, check it every six months. Regular testing helps you catch problems early and keeps your equipment safe.
Can you install a Linkwell thermostat in any control cabinet?
Yes, you can. Linkwell thermostats fit most standard enclosures. Just make sure the voltage and temperature range match your system. Installation is quick and easy with basic tools.
What should you do if your thermostat does not respond to temperature changes?
First, double-check the wiring and power. Try testing with a multimeter. If the thermostat still does not respond, you may need to replace it. Always follow safety steps before touching any wires.
Are Linkwell digital thermostats waterproof?
| Model Type | Waterproof Rating |
|---|---|
| Standard | IP54 |
| High-Protection | Up to IP67 |
You can use Linkwell digital thermostats in dusty or damp places. Just pick the right model for your needs.