Thinking about how to install breaker in electrical panel? You might feel tempted to tackle the job yourself, but safety comes first. Electricity can cause serious harm, so you must follow local codes and legal requirements. Check out some common hazards you could face:
Incorrect wiring or wrong panel size increases fire and shock risk.
Loose connections create flickering lights and fire hazards.
Overcrowded wiring makes fire more likely.
Skipping labels makes future troubleshooting dangerous.
Trying a DIY job without experience leads to injury or worse.
If you ever feel unsure, or if your electrical panel shows signs of damage, call a licensed electrician. You’ll need the right tools, a clear plan, and a careful approach before installing a breaker.
Requirement Category
Key Details
Panel Fill Capacity
Don’t exceed panel limits; seal unused spaces.
Panel Labeling
Clearly label all circuits.
Grounding & Bonding
Ground and bond panels as required.
Install Breaker in Electrical Panel Key Takeaways
Always turn off the main power and use insulated tools and protective gear before working on your electrical panel to stay safe.
Gather all the right tools and materials, including a voltage tester, wire strippers, and a matching breaker, before starting the installation.
Follow step-by-step instructions carefully: remove the panel cover, install the breaker securely, connect wires properly, and test the new breaker before closing the panel.
Label each breaker clearly after installation to make future troubleshooting easier and keep your electrical system organized.
If you feel unsure or notice damage, call a licensed electrician to avoid risks and ensure your work meets local codes and safety standards.
Install Breaker in Electrical Panel Safety and Preparation
Electrical Hazards
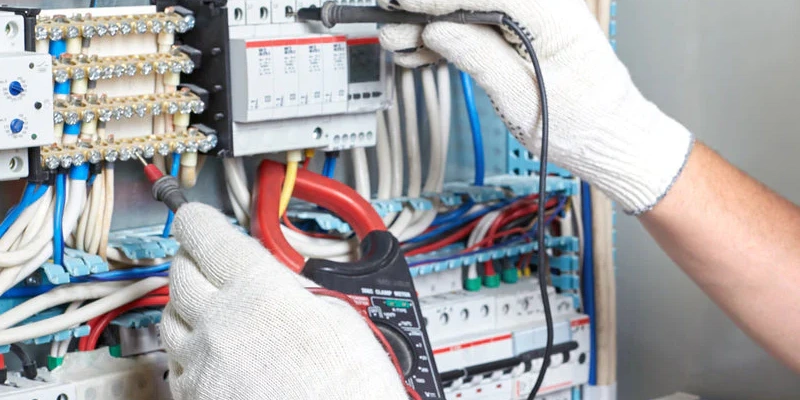
Before you even think about opening your circuit breaker panel, you need to put safety first. Electricity is powerful and can be dangerous if you don’t take the right steps. Here’s what you should do before you start working on your breaker:
Turn off the main power by switching off the main breaker. This step cuts electricity to the entire electrical panel.
Use a voltage tester to double-check that no power is present inside the panel.
Only use insulated tools. These help protect you from accidental shocks.
Wear protective gear. Rubber gloves, safety glasses, and arc-rated clothing are a must. You might also want to use a face shield, hearing protection, and sturdy shoes.
Make sure your workspace is dry and well-lit. Water and electricity never mix.
Check that your new breaker matches your circuit breaker panel in model and size.
Gather all your tools and materials before you begin. This includes screwdrivers, wire strippers, a circuit tester, and the new breaker.
Tip: If you ever feel unsure or see signs of damage in your circuit breaker panel, stop and call a licensed electrician. Your safety matters most.
Linkwell always puts safety and compliance at the top of the list. Our electrical power distribution boxes meet strict international standards, so you can trust the quality and protection they provide.
Code Compliance
You can’t ignore electrical codes when installing a breaker. These rules exist to keep you, your home, and your property safe. If you skip code requirements, you risk electrical fires, shocks, and even legal trouble. Non-compliance can lead to fines, denied insurance claims, and expensive repairs.
Some of the most common mistakes people make during breaker installation include:
Using the wrong type of breaker for the circuit breaker panel.
Connecting new breakers to old or damaged wiring.
Making wire splices outside of approved junction boxes.
Failing to label circuits clearly.
Not grounding or bonding the panel correctly.
Violation
What Can Happen
Wrong breaker type
Fire hazard, equipment damage
Bad splicing
Shock, fire, failed inspection
No labeling
Confusion, safety risk
Poor grounding/bonding
Shock, code violation
If you’re not sure about any step, or if your local code requires a licensed electrician, don’t take chances. Call a professional. Linkwell’s products help you stay compliant, but you must always follow local rules and best practices.
Tools and Materials
Before you start working on your circuit breaker box, you need to gather the right tools and materials. Having everything ready makes the job smoother and keeps you safe. Let’s break down what you’ll need.
Essential Tools
You don’t want to get halfway through installing a breaker and realize you’re missing something. Here’s a handy table to help you check off each item:
Tool Category
Tools and Equipment
Notes/Importance
Screwdrivers
Flathead and Phillips screwdrivers
Remove panel covers and install breakers
Wire Handling
Wire stripper, pliers
Prepare and connect wires
Testing Devices
Voltage tester, circuit tester
Confirm power is off and test circuits
Lighting
Flashlight or LED headlamp
Light up your work area
Safety Equipment
Insulated gloves, safety goggles
Protect yourself from electrical hazards
Miscellaneous
Electrical tape, breaker lock (if needed)
Secure connections and follow code requirements
You might also need a utility knife for stripping wires and a cable ripper if you’re working with armored cable. Always double-check that your tools have insulated handles. This small detail can make a big difference in your safety.
Linkwell Electrical Power Distribution Box
When you choose a Linkwell electrical power distribution box, you get more than just a place to install your breaker. These boxes keep your wiring organized and help split power safely to multiple circuits. The design uses strong, fire-resistant materials and offers finger-safe, insulated connections. You’ll find pre-cut cable entries and labeled terminals, which make installation faster and reduce mistakes.
For your breaker installation, you’ll also need:
Labels for marking each circuit
Jumpers for linking terminals
End brackets to secure blocks on the DIN rail
Armored cable and connectors if your setup requires extra protection
Linkwell’s circuit breaker box supports easy upgrades and expansion. The modular design means you can add more breakers or circuits later without hassle. Plus, you get peace of mind with certifications like UL and CE, and a warranty that covers you for up to two years. If you ever need help, Linkwell’s support team responds quickly and offers expert advice.
Tip: Organize your tools and materials before you open the circuit breaker box. This step saves time and helps you avoid mistakes during installation.
How to Install Breaker in Electrical Panel
Adding a new breaker to your circuit breaker panel can seem intimidating, but you can handle it with the right steps and a focus on safety. Let’s walk through how to install breaker in electrical panel, step by step.
Power Off and Panel Access
Before you do anything else, you need to make sure the panel is safe to work on. Here’s how to start your circuit breaker installation:
Gather all your tools and safety gear. You’ll need screwdrivers, a wire stripper, pliers, a voltage tester, a flashlight, electrical tape, a breaker lock if needed, and safety equipment like insulated gloves and goggles.
Turn off the main power supply at your circuit breaker panel. This step cuts electricity to the whole panel and keeps you safe.
Use your voltage tester to double-check that there’s no power inside the panel. Sometimes, a few circuits might still be live even after you flip the main breaker.
Carefully remove the panel cover. Hold onto the screws so you don’t lose them.
Shine a flashlight inside if you need more light. Good visibility helps you avoid mistakes.
Set the panel cover and screws aside in a safe spot.
Tip: Always double-check for live wires before you touch anything inside the panel. Safety comes first in every circuit breaker installation project.
Install the Breaker
Now you’re ready to install the breaker. Here’s how to install breaker in electrical panel without missing a step:
Find the correct slot for your new breaker. Make sure the slot matches the amperage and voltage you need. If you want to add a double-pole breaker, you’ll need two slots next to each other.
Line up the breaker with the bus bar. The bus bar is the metal strip that delivers power to each breaker.
Snap the breaker firmly into place. You should feel it click or lock in. If you’re not sure it’s secure, give it a gentle tug.
If your panel uses a DIN rail, slide the breaker onto the rail and lock it in.
Keep your hands away from any exposed metal parts. Even with the main power off, some parts might still carry current.
Note: Always follow the manufacturer’s instructions for your specific breaker and panel. Not all panels are the same.
Wire Connections
Wiring is the heart of any circuit breaker installation. Take your time and pay attention to detail:
Make sure the breaker is in the “off” position before you start wiring.
Strip the ends of your wires so you have clean copper exposed.
Connect the hot (black) wire to the breaker terminal. Loosen the screw, insert the wire, and tighten it securely.
Attach the neutral (white) wire to the neutral bus bar. This is usually a metal strip with several screws for neutral wires.
If you have a ground wire (bare copper or green), connect it to the ground bus bar.
Use the right connectors and tighten everything to the recommended torque. Loose connections can cause arcing and overheating.
Inspect your wires for any damage. Replace any that look worn or frayed.
Tuck the wires neatly inside the panel. Neat wiring makes future work easier and safer.
Safety Check: Never rush wire connections. Double-check each one before you move on. Good connections are key to a safe and reliable circuit breaker installation.
Testing and Verification
You’ve finished the physical work, but you’re not done yet. Testing is a must for every circuit breaker installation:
Do a visual inspection. Look for loose wires, corrosion, or signs of overheating.
Use a voltage tester to confirm everything is still de-energized.
Perform a continuity test to make sure your wiring is correct and unbroken.
Flip the breaker to the “on” position. Watch for any sparks or unusual sounds.
Test the breaker by turning it off and on a few times. It should move smoothly and click into place.
If your breaker has ground fault protection, use a tester to check that feature.
Apply a load to the new circuit. Plug in a lamp or small appliance to see if the breaker holds steady.
Measure the voltage across the breaker terminals to confirm you have the right voltage.
Reattach the panel cover using the screws you saved earlier.
Label the new breaker clearly. Write down which circuit it controls so you or anyone else can find it later.
Pro Tip: Keep a record of your circuit breaker installation. Write down the date, breaker size, and what the circuit powers. This info helps with future upgrades or troubleshooting.
You’ve just learned how to install breaker in electrical panel from start to finish. Whether you want to add a breaker for a new appliance or upgrade your system, following these steps will help you complete a safe and successful circuit breaker installation.
Circuit Breaker Installation Tips
Labeling Circuits
Clear labeling makes your electrical panel easy to use and much safer. When you finish a circuit breaker installation, always label each breaker right away. You can use labeling tags that attach to the wires after you secure them in the terminal blocks. This method works great with Linkwell panels because it keeps everything organized and easy to trace. If you ever need to troubleshoot or add new circuits, you will know exactly which breaker controls each area.
Try to use durable labels that will not fade or fall off over time. Write down the room or appliance each breaker serves. For example, you might label one as “Kitchen Outlets” and another as “Living Room Lights.” Keeping a panel directory updated helps everyone in your home or business stay safe and avoid confusion.
Tip: Take a photo of your labeled panel and keep it on your phone. This way, you always have a backup if a label gets damaged.
Common Mistakes
Even if you follow the steps for circuit breaker installation, mistakes can happen. Here are some of the most common errors and how you can avoid them:
Skipping the manufacturer’s instructions. Always read the manual before you install a breaker.
Mounting the breaker at the wrong height or spacing. Stick to the recommended guidelines for easy access and airflow.
Using the wrong tools or hardware. Only use tools that match the manufacturer’s specs.
Over-tightening or under-tightening screws. Use a torque wrench to get it just right.
Forgetting to ground the breaker. Proper grounding keeps you safe from shocks.
Placing mounting brackets incorrectly. Double-check alignment before you finish.
Ignoring the system load. Make sure the breaker matches the circuit’s needs.
Not testing after installation. Always test the breaker before closing the panel.
Failing to label circuits. Clear labels help with future repairs and upgrades.
Not following local codes. Check your area’s rules before you start.
If your new breaker does not work, turn off all connected appliances. Reset the breaker by switching it fully off and then on. Test each device one by one to find any problems. If you notice a burning smell, the breaker feels hot, or it will not reset, stop and call a professional. Safety always comes first.
Regular maintenance, like visual checks and testing, helps your breakers last longer and work reliably. Keep your panel clean and up to date for the best results.
How to Replace a Circuit Breaker
If you notice your breaker keeps tripping, feels hot, or shows scorch marks, you might need to replace it. Learning how to replace a circuit breaker helps you keep your electrical system safe and reliable. Let’s walk through the process together.
Removal Steps
You want to stay safe while changing a circuit breaker. Follow these steps:
Shut off the main breaker to cut power to the entire panel. Use a lockout device if you have one.
Remove the panel cover carefully. Set the screws aside so you don’t lose them.
Use a voltage tester to make sure the panel and the breaker are de-energized.
Find the faulty breaker. Look for signs like frequent tripping, physical damage, or no voltage.
Put on insulated gloves and safety glasses. Protect yourself from electrical shock.
Loosen any screws holding the breaker in place.
Disconnect the wires from the breaker. Gently pull the breaker away from the bus bar. Don’t force it—if it’s stuck, check the manufacturer’s instructions.
If you feel unsure or run into trouble, call a licensed electrician.
Tip: Always double-check for power before touching any wires. Safety first!
Replacement Steps
Now you’re ready to install the new breaker. Here’s how to replace a circuit breaker and get your system back up and running:
Choose a replacement breaker that matches your panel’s specs. Linkwell offers certified replacement parts and lifetime technical support, so you can trust the quality.
Attach the wires to the new breaker. Make sure each connection is tight and secure.
Snap the breaker into the correct slot on the bus bar. Listen for a click to confirm it’s locked in place.
Tighten any screws to hold the breaker steady.
Check your work. Make sure all wires look neat and undamaged.
Replace the panel cover and secure it with the screws.
Turn the main breaker back on. Test the new breaker by switching it on and off. Plug in a small device to confirm everything works.
Note: Linkwell’s support team can help with wiring diagrams, troubleshooting, and expedited replacement parts if you need extra help.
Changing a circuit breaker is a smart way to fix problems like frequent tripping, overheating, or old equipment. If you see a burning smell or the breaker won’t reset, don’t wait—replace it right away. Linkwell’s replacement parts meet UL and CE standards, so you get safe, reliable performance every time.
When you install or replace a breaker, safety and code compliance should always come first.
Always shut off the main power and use insulated tools.
Double-check every connection and label each breaker clearly.
If you feel unsure at any step, reach out to a licensed electrician.
Using a high-quality Linkwell electrical power distribution box helps you keep your panel organized and safe. Remember, careful work with each breaker protects your home and gives you peace of mind.
FAQ
How do you know if your breaker panel needs an upgrade?
If you notice frequent tripping, buzzing sounds, or warm spots on your panel, you might need an upgrade. Old panels can’t handle modern loads. You should call a licensed electrician to check your system.
What should you do if a breaker keeps tripping?
First, unplug everything on that circuit. Try to reset the breaker. If it trips again, you may have a wiring issue or a faulty breaker. Don’t ignore repeated tripping. Call a professional for help.
How to reset a circuit breaker safely?
Stand to the side of the panel. Push the breaker fully to the “off” position, then back to “on.” If you want to know how to reset a circuit breaker, always check for the cause of the trip before turning it back on.
Can you add more breakers to your Linkwell electrical power distribution box?
Yes, you can add more breakers if your panel has space and meets code. Linkwell’s modular design makes expansion easy. Always check your panel’s fill capacity and follow safety guidelines.
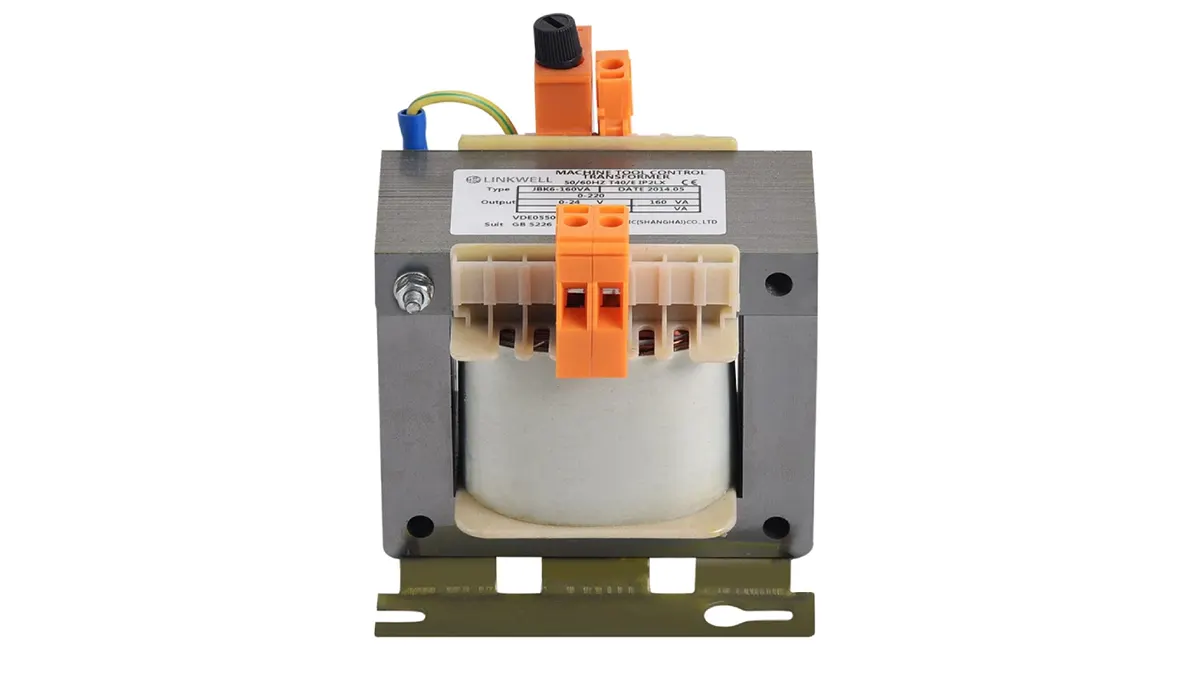
You may notice that control transformer prices are never the same. The price changes because of things like VA rating, voltage, phase, material, certifications, customization, order size, environment, and installation
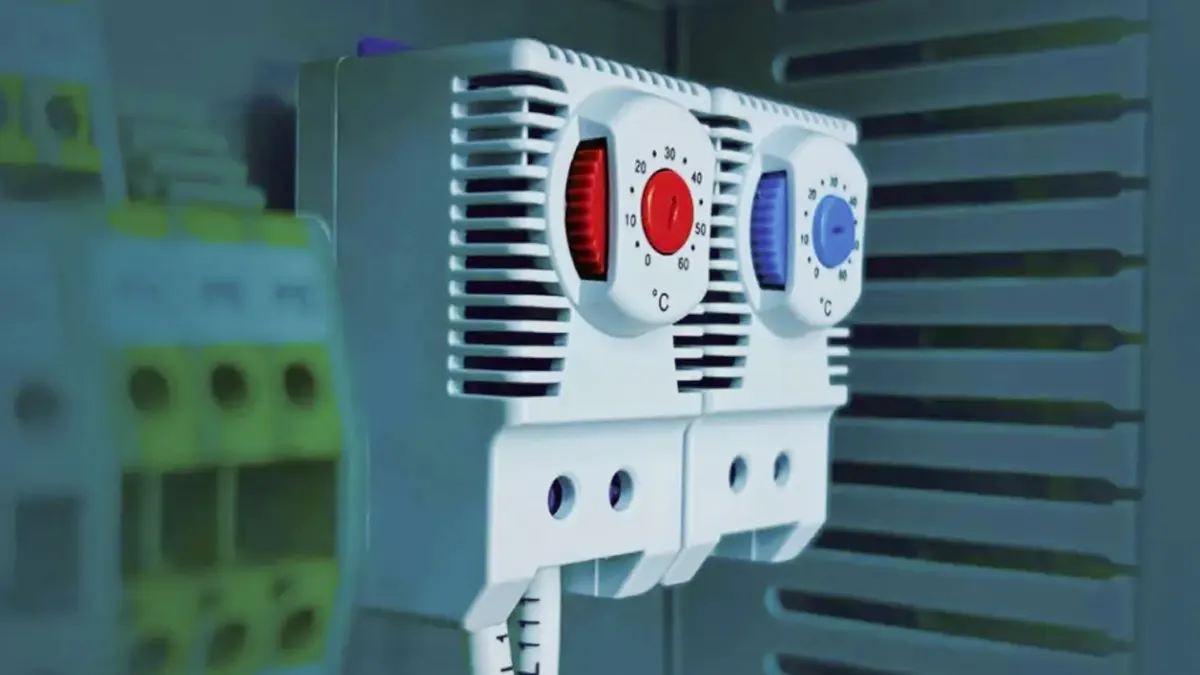
You might see that hygrostat price changes a lot based on your needs. When you check different models, you notice things like control precision, material, and special features matter. Certifications
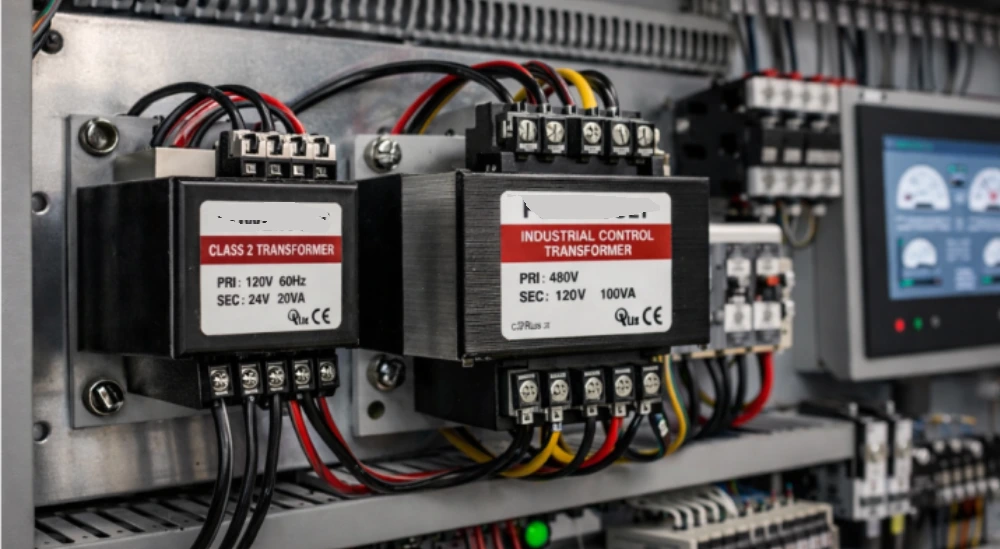
To ensure proper Control Transformer Sizing for 480V to 120V panels, you need to calculate the total load and include a safety margin. Accurate sizing is crucial as it prevents
To provide the best experiences, we use technologies like cookies to store and/or access device information. Consenting to these technologies will allow us to process data such as browsing behavior or unique IDs on this site. Not consenting or withdrawing consent, may adversely affect certain features and functions.
Functional
Always active
The technical storage or access is strictly necessary for the legitimate purpose of enabling the use of a specific service explicitly requested by the subscriber or user, or for the sole purpose of carrying out the transmission of a communication over an electronic communications network.
Preferences
The technical storage or access is necessary for the legitimate purpose of storing preferences that are not requested by the subscriber or user.
Statistics
The technical storage or access that is used exclusively for statistical purposes.The technical storage or access that is used exclusively for anonymous statistical purposes. Without a subpoena, voluntary compliance on the part of your Internet Service Provider, or additional records from a third party, information stored or retrieved for this purpose alone cannot usually be used to identify you.
Marketing
The technical storage or access is required to create user profiles to send advertising, or to track the user on a website or across several websites for similar marketing purposes.