
Connecting a junction box is a fundamental skill in electrical work, essential for safely joining and distributing wires. Junction boxes serve as protective enclosures for wire connections, preventing hazards and organizing complex wiring systems. Understanding the proper techniques for connecting these boxes ensures a reliable and compliant electrical installation, whether for adding new fixtures or extending existing circuits.
This guide will walk you through the essential steps of connecting a junction box, from preparing the wires to securely mounting the box and making the necessary internal connections. Emphasizing safety and best practices, we’ll cover how to properly terminate wires within the box to ensure secure electrical continuity and prevent potential issues. Follow along to gain the knowledge needed for successful junction box connections.
What Are Junction Boxes
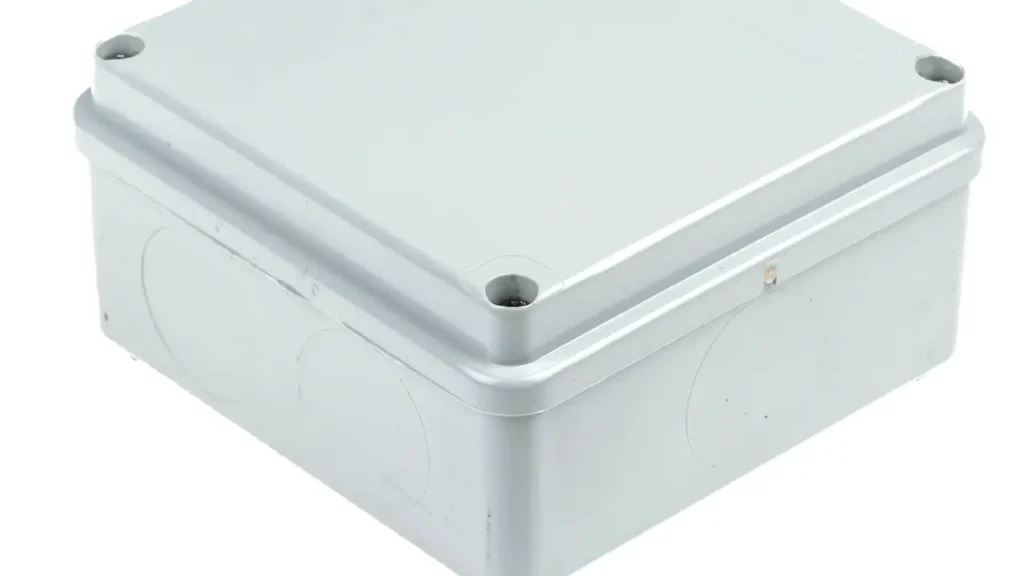
Junction boxes are protective enclosures used in electrical wiring to house and safeguard connections between two or more wires. These junction boxes, typically made of metal or plastic, provide a secure and organized space for wire splices, preventing accidental contact with live wires, protecting connections from environmental factors like moisture and dust, and containing potential electrical faults.
They are essential components in both residential and commercial electrical systems, ensuring safety and facilitating the distribution of power to various outlets, lights, and appliances while adhering to electrical codes.
Why Junction Box Connection Matters

Proper junction box connections are paramount for the safety and functionality of any electrical system. Secure and correctly insulated connections prevent electrical hazards such as short circuits, ground faults, and potential fires.
A well-connected junction box ensures a continuous and reliable flow of electricity to the intended devices and outlets. Furthermore, organized wiring within the box simplifies troubleshooting, maintenance, and future modifications, making the electrical system more manageable and less prone to failures over time.
Beyond safety and reliability, proper junction box connections are often mandated by electrical codes and regulations. Compliance with these standards ensures that electrical installations meet minimum safety requirements and are less likely to cause harm or property damage. Using the correct wiring techniques and connectors within an appropriately sized and installed junction box contributes to a durable and code-compliant electrical system.
Here’s why junction box connections are important:
- Safety: Prevents electrical shocks, short circuits, and fires.
- Reliability: Ensures consistent and uninterrupted power flow.
- Code Compliance: Meets electrical regulations for safe installations.
- Organization: Keeps wiring neat and manageable for easier access.
- Maintenance: Simplifies troubleshooting and repairs.
- Durability: Contributes to the longevity of the electrical system.
- Protection: Shields connections from environmental factors and physical damage.
How to Connect a Junction Box

Connecting a junction box is a fundamental skill in electrical work, ensuring that wire connections are made safely and securely within a protective enclosure. This process involves several key steps, from preparing the wires to properly securing the box and its cover. Adhering to these steps meticulously is crucial for preventing electrical hazards, ensuring the longevity of the wiring, and complying with electrical codes. Always remember to de-energize the circuit at the main breaker before commencing any work on the junction box and to use appropriate safety gear.
Step 1: Prepare the Wires and the Junction Box
Before making any connections, the first crucial step involves preparing both the wires that will enter the junction box and the box itself. For the wires, you’ll need to carefully strip the outer insulation to expose the conductive core, typically around 3/4 to 1 inch, depending on the type of wire connectors you intend to use. Ensure that you do not nick or damage the underlying copper strands, as this can compromise the wire’s integrity and conductivity. Separate the wires according to their function: hot (usually black or red), neutral (usually white), and ground (usually bare copper or green).
The junction box also needs preparation. Ensure it is the correct size and type for the intended number of wires and the environment where it will be installed (indoor, outdoor, wet location). If the box has knockouts (removable discs), carefully remove only the ones needed for the wires to enter, using a screwdriver and hammer or knockout pliers. Smooth any sharp edges around the knockouts to prevent damage to the wire insulation. If using non-metallic (NM) cable, install cable clamps into the knockouts to secure the cables to the box and provide strain relief. For metallic conduit, appropriate connectors will need to be threaded or clamped onto the box.
Step 2: Make the Ground Connections
Establishing a reliable ground connection is paramount for safety in any electrical installation. Begin by gathering all the ground wires (bare copper or green) that will be connected within the junction box. Twist these wires together firmly to ensure good electrical contact between them. The number of twists should be sufficient to create a solid mechanical and electrical bond, typically several tight turns.
Once the ground wires are twisted together, secure the connection using a green wire nut specifically designed for grounding. Screw the wire nut onto the twisted wires until it is snug and no bare wire is exposed below the cap. If the junction box is made of metal, you must also connect a grounding pigtail (a short length of ground wire) to the box itself, usually using a green grounding screw provided inside the box. The other end of this pigtail then gets connected with the other ground wires under the green wire nut. This ensures the metal box is also properly grounded, providing an additional layer of safety.
Step 3: Connect the Neutral Wires
Next, proceed to connect all the neutral wires, which are typically identified by their white insulation. Just like with the ground wires, gather all the neutral wires that need to be joined within the junction box and twist them together securely. Ensure there is good contact between all the conductors to allow for a proper return path for the electrical current.
After twisting the neutral wires, use a white or gray wire nut (or another connector approved for neutral wires) to cap the connection. Screw the wire nut on firmly until it is snug, ensuring that no bare wire is visible below the connector. The neutral wires provide a crucial return path for the electrical current back to the source and must be kept separate from the hot and ground wires within the junction box to prevent malfunctions and potential hazards.
Step 4: Connect the Hot Wires
Now, focus on connecting the hot wires, which are typically black or red. The way you connect these will depend entirely on the specific junction box wiring configuration and the purpose of the junction box within the circuit. For instance, you might be joining an incoming hot wire to one or more outgoing hot wires that supply power to different devices or outlets. Carefully identify the wires that need to be connected together based on your wiring plan.
Twist the appropriate hot wires together securely to ensure good electrical contact. Then, use a wire nut of the appropriate size and color (often red or yellow for hot wires) to cap the connection. Screw the wire nut on firmly, making sure no bare wire is exposed. It is absolutely critical to never connect a hot wire to a neutral or ground wire, and you should also never connect hot wires from different circuits together unless specifically intended and done with proper knowledge and precautions.
Step 5: Secure and Organize the Wires Inside the Box
Once all the wire connections are made, it’s essential to carefully tuck and arrange the wires inside the junction box. Fold the wires neatly so that they fit within the box without being overly crowded or stressed. Ensure that the wire nuts are not being forced or pushed against each other or the sides of the box, as this could potentially loosen the connections over time.
Arrange the wires in a way that allows the junction box cover to be installed without pinching or damaging the insulation. If the box is small or contains many wires, you might need to take extra care in how you fold and position them. The goal is to have the wires contained securely within the box, allowing for easy access if future maintenance or troubleshooting is required, without compromising the integrity of the connections.
Step 6: Install the Junction Box Cover
The final step is to securely install the cover onto the junction box. The cover serves as a physical barrier, protecting the wire connections inside from accidental contact, dust, and moisture. It also helps to contain any potential electrical faults that might occur within the box. Ensure you are using the correct cover for the size and type of junction box you have installed.
Align the cover with the screw holes or mounting mechanism on the box and fasten it securely. For screw-on covers, tighten the screws adequately but avoid over-tightening, which could crack a plastic cover or strip the threads on a metal box. For snap-fit covers, ensure they are fully engaged and sit flush with the box. A properly installed cover is a critical safety component of the electrical installation, preventing exposure to live wires and ensuring the overall integrity of the electrical system.
How to Connect Conduit to a Junction Box?

Connecting conduit to a junction box is a crucial step in creating a protected and code-compliant electrical raceway system. Conduit serves to safeguard wires from physical damage and environmental factors, and a secure connection to the junction box ensures the integrity of this protection extends to the wiring within the box. This process typically involves selecting the appropriate conduit fittings, preparing the conduit ends, and properly securing the conduit to the box to create a continuous, grounded pathway.
Step 1: Select the Appropriate Conduit and Fittings
The first step involves choosing the correct type and size of conduit for your application, whether it’s rigid metal conduit (RMC), intermediate metal conduit (IMC), electrical metallic tubing (EMT), or flexible metal conduit (FMC). Once the conduit type is determined, select the corresponding fittings designed to connect that specific conduit to the junction box. Common fittings include conduit connectors (like set-screw, compression, or threaded connectors) and locknuts. Ensure the fittings are the correct size for the conduit and are approved for the intended use (e.g., wet location fittings for outdoor applications).
Step 2: Prepare the Conduit End
Before connecting the conduit to the junction box, the end of the conduit needs to be properly prepared. For metal conduits like RMC and IMC, this involves cutting the conduit to the desired length using a pipe cutter and then reaming the cut ends to remove any sharp burrs or edges that could damage wire insulation. For EMT, a tubing cutter is typically used, followed by deburring. Flexible metal conduit may require a specialized cutter. Ensure the cut end is clean and smooth to allow for a proper and secure connection with the fitting.
Step 3: Attach the Fitting to the Conduit
Next, attach the appropriate fitting to the prepared end of the conduit. For threaded conduits (RMC, IMC), thread the fitting onto the conduit end, ensuring it is tightened securely. For non-threaded conduits like EMT, slide the connector onto the conduit end and tighten the setscrews or compression nut according to the manufacturer’s instructions. For flexible metal conduit, screw or clamp the appropriate connector onto the conduit, ensuring the wires will have a smooth pathway into the junction box.
Step 4: Install the Conduit and Fitting into the Junction Box
Now, insert the conduit fitting into the corresponding knockout opening on the junction box. For threaded fittings on metal conduit, thread the fitting into the knockout, and then secure it from the inside of the box with a locknut, tightening it firmly against the box wall. For non-threaded fittings on EMT, insert the connector through the knockout and then tighten the locknut from inside the box against the connector. Ensure the conduit is securely held in place and there is a good mechanical connection between the conduit, fitting, and junction box.
Step 5: Ensure Proper Grounding (for Metal Conduit)
If you are using metal conduit (RMC, IMC, or EMT), it’s crucial to ensure a continuous electrical ground path throughout the conduit system and to the junction box. This is typically achieved through the secure mechanical connections made at each fitting and box. Ensure all fittings are properly tightened and that the locknuts are making good contact with the metal box. In some cases, a separate grounding conductor may need to be run inside the conduit and connected to a grounding terminal within the junction box, depending on local electrical codes.
Step 6: Secure the Conduit Run
Finally, ensure the entire conduit run is properly supported and secured according to electrical code requirements. This may involve using conduit straps or hangers at appropriate intervals along the conduit. A securely supported conduit run prevents stress on the connections at the junction box and maintains the physical protection of the wiring system. Once the conduit is firmly connected to the junction box and properly supported, you can proceed with pulling the wires through the conduit and making the necessary connections inside the box.
Junction Box Connection Methods

Connecting wires within a junction box is a fundamental aspect of electrical work, and various methods exist to ensure secure and reliable electrical connections. The choice of connection method often depends on factors such as wire type, gauge, the specific application, and local electrical codes.
Understanding these different techniques is essential for any electrician or individual undertaking electrical wiring projects to ensure safety and proper functionality of the electrical system.
Wire Nuts
Wire nuts, also known as twist-on wire connectors, are a common and cost-effective method for joining two or more wires. After stripping the insulation, the wires are twisted together at their exposed ends, and then a plastic cap with internal threads is screwed onto the twisted wires. The twisting action and the cap create a secure mechanical and electrical connection. Wire nuts come in various sizes and colors to accommodate different numbers and gauges of wires. They are widely used in residential and commercial wiring for general-purpose connections.
Push-in Connectors
Push-in connectors offer a tool-less and quick way to join solid or stranded wires (though stranded wires may require ferrules for optimal connection). These connectors have small openings where stripped wires are simply pushed in and held securely by internal springs or clamps. To release a wire, a small lever or button on the connector is typically pressed. Push-in connectors are popular for their ease of use and speed of installation, particularly in applications like lighting fixtures and receptacle wiring.
Terminal Blocks
Terminal blocks provide a more structured and organized way to connect multiple wires, especially in control panels and equipment wiring. They consist of individual terminal units, often mounted on a strip, with screw clamps or spring-loaded mechanisms to secure each wire. Terminal blocks allow for easy identification and disconnection of wires, making them ideal for applications requiring frequent adjustments or maintenance. They can accommodate a range of wire sizes and provide secure, reliable connections for both power and signal circuits.
Solder and Wire Wrap
Soldering involves joining wires by melting a conductive metal alloy (solder) around the connection, creating a permanent electrical and mechanical bond. The wires are typically twisted together before soldering. While providing excellent conductivity and a strong connection, soldering is a more time-consuming process and requires skill and specialized equipment. Wire wrapping involves tightly wrapping a solid wire around a terminal post multiple times to create a gas-tight connection. It’s commonly used in low-current, high-reliability applications like telecommunications and electronics.
Split Bolt Connectors
Split bolt connectors, often called “bug nuts,” are heavy-duty connectors used for joining larger gauge wires, particularly in power distribution and grounding applications. They consist of two grooved halves that clamp the wires together when bolts are tightened. Split bolt connectors provide a robust and high-current-carrying connection. They are typically insulated with tape after installation to prevent accidental contact.
Crimp Connectors
Crimp connectors are attached to stripped wires using a crimping tool, creating a mechanical and electrical bond through deformation of the connector metal. Various types of crimp connectors exist, such as ring terminals, spade terminals, butt splices, and wire ferrules, each designed for specific applications and wire terminations. Crimp connections are reliable and widely used in automotive, industrial, and appliance wiring.
Conclusion
In conclusion, properly connecting a junction box is fundamental for a safe and functional electrical system. By following the correct steps for preparing wires, making secure connections for ground, neutral, and hot wires, and ensuring proper enclosure, you minimize the risk of electrical hazards and ensure long-term reliability. A well-connected junction box serves as a protected and organized hub for your wiring.
Understanding the importance of each connection and adhering to safety protocols is paramount when working with electrical wiring. Taking the time to make secure and correctly insulated connections within the junction box will prevent issues such as short circuits, power failures, and potential fire hazards. Always double-check your work and ensure the junction box cover is securely in place.
Looking for reliable wholesale junction boxes for your electrical projects? Linkwell Electronics offers a wide range of high-quality junction boxes to meet your needs. Contact us today to explore our selection and ensure your installations are safe and professionally connected. Choose Linkwell Electronics for dependable electrical solutions.


